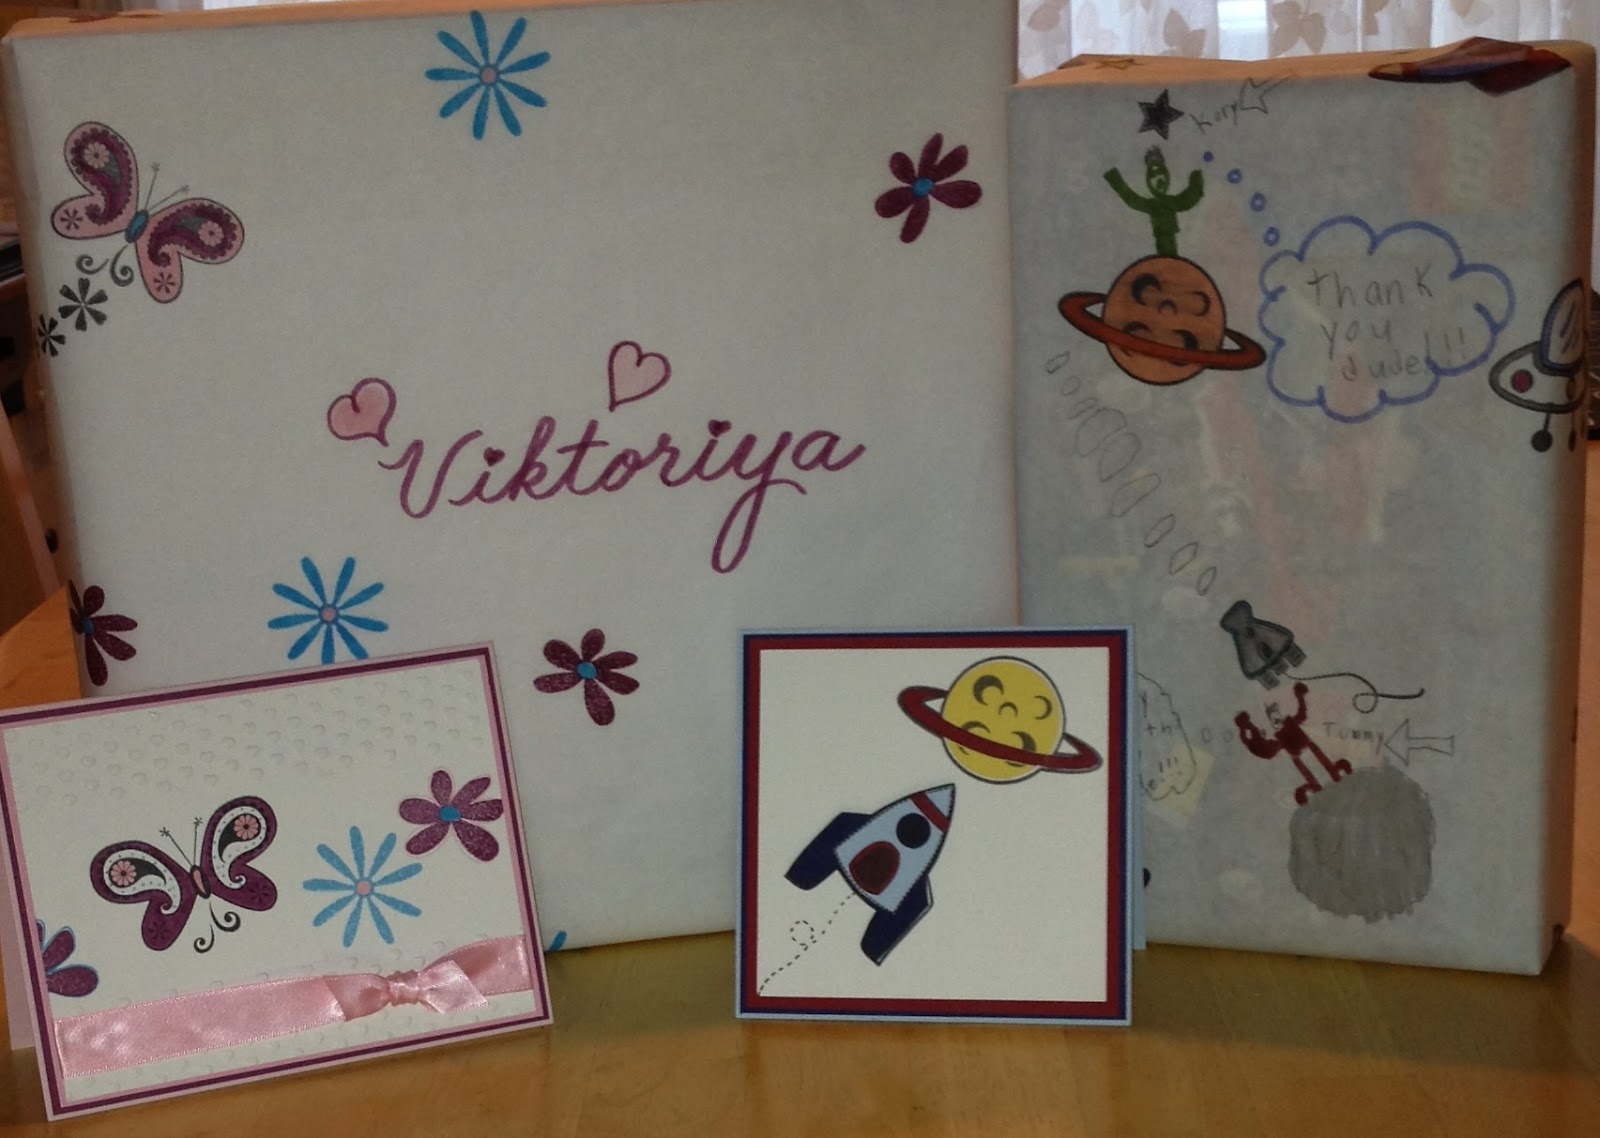
Believe it or not, we had THREE birthday parties to attend this weekend! That's about two too many for me, but we decided to let Tommy pick two since they're all his friends. Of course, he picked his future wife, Viktoriya and one of his best buds, Kory. After purchasing the gifts, we decided we would make some wrapping paper and matching cards. Here's how.
You'll need:
Your gifts, of course
Some freezer paper
Some Sharpies
Optional (Stamp Sets and ink: not shown)
Measure out how much paper you will need for each gift. Either just start drawing or stamp it with permanent ink like we did. Make sure you stamp/draw on the UNshiny side of the paper.
Then start coloring the images in!
Tommy decided to add in a few of his own drawings to make it extra special.
Here's what I love about this freezer paper....see the backside? It's waterproof, so the markers don't bleed through. And these are permanent markers. Normally, I'd insist on some extra paper as protection under the project.
Finish all of your stamping and coloring, then wrap your gifts with it. Be sure to make a matching card while you have your stamps out.
This quick project really helps to personalize the gifts, but costs just pennies. The kids just love receiving the handmade cards and wrapping paper. Most of the time, the recipient very carefully unwraps the gift so they can save the paper, lol! It cost us next to nothing, but makes a big impression!
Just an FYI: The gift on the left has had a piece of printer paper taped to the game to cover up the words that could be seen underneath. The one on the right does not. Depending on the thickness of your freezer paper and what you'r wrapping, this may or may not be an issue.


So cute! Looks like Tommy had a lot of fun helping you create your one of a kind wrapping. It's a fun project to do for adults too!
ReplyDelete