Monday, May 30, 2011

Old-Fashioned Pancakes

...Or as my son calls them, Lumber Jacks!  We made these this morning for breakfast and they were really good!  It doesn't make that big of a batch, so if you have more than 3 people in your home, you'd better double it.  This made about 12 medium sized pancakes.  If you've never made homemade pancakes before, it's so easy.  Please don't buy that expensive box of Aunt Jemima anymore!

I'm going to try something here by posting step by step pix.  Now, I know pancakes aren't that difficult, but I wanted to try it out.  Once I get some followers, you can tell me whether or not you like the step by step pix or if you feel I'm treating you like a dingbat, lol.  It sure takes a lot more having to stop and think when you're taking pix!  I can't promise I'll do it on every recipe. It depends on what I'm cooking.  I could ask my son to do it, but he moves around a lot.  We'll see.  On to the pancakes...

Ingredients:
1 1/2C Flour
3 1/2t  Baking Powder
1t Salt
1T White Sugar
1 1/4C Milk
1 Egg
3T butter, melted

If possible, try to remember to set out the milk and egg to bring to room temp. I'm not sure if this truly makes a difference, but that's what the recipe says, people!  Yes, I realize I have a Sea Salt grinder in the picture.  
I actually used regular salt, but wasn't thinking when I took the picture.  I'll catch on eventually.
In a large bowl, sift together the flour, baking powder, salt and sugar...
Make a well in the center and pour in the milk, egg and melted butter...
Yes, there's milk and egg under there somewhere, but the butter overtook it.
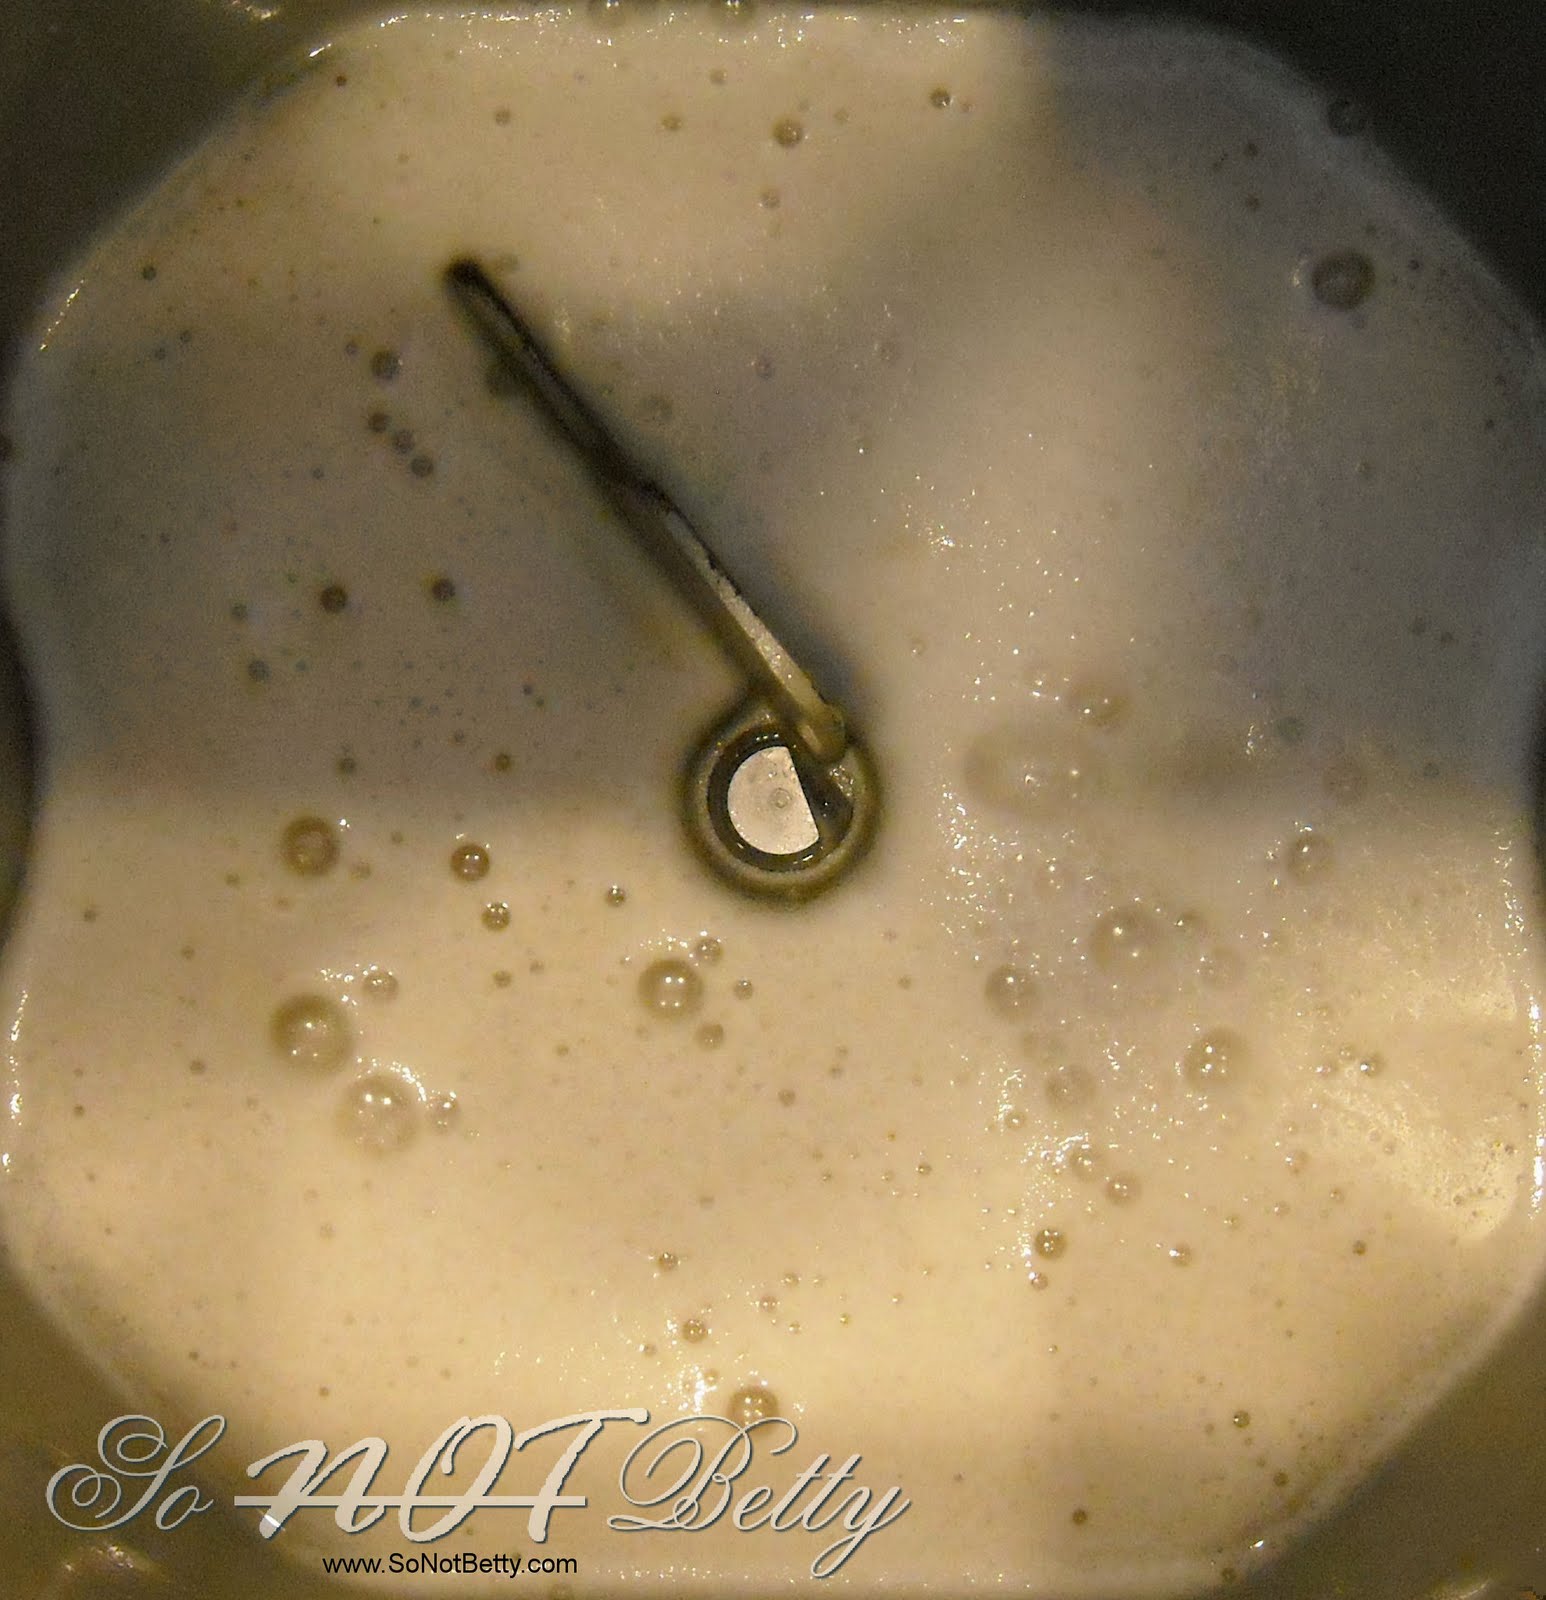
Mix until smooth...
Heat a lightly oiled griddle, or in my case, a heavily buttered grill pan/griddle over low/med heat.  
Yes, I am actually using it on my glass-top stove. 
Pour or scoop the batter onto the griddle using approximately 1/4C for each pancake, 
while attempting to take a picture of yourself doing it at the same time,
silently cursing yourself for not using a 1/4C measure.
When your (hopefully round/unlike my) pancake has little bubbly holes like this on top,
it's ready to get a suntan on the other side.  Flip over and check periodically until light golden brown.
Add a pat of butter and some warm, grossly-expired Mrs. Butterworth's syrup and you're good to go!
Or throw in a handful of fresh blueberries and make these:

Notes and What I learned from this experiment:
These were actually very good and CHEAP!  The whole batch comes to .86 cents!  That's about 7 cents/pancake!  At Village Inn, I'm fairly certain a stack of 3 cakes costs about $2.00.  That's crazy when you see how cheap and easy they truly are to make at home.  (And mine tasted better, ha ha ha ha!)   I didn't account for the cost of the syrup and the pat of butter, but still...
 
I did learn that I need to put that griddle pan on low because once cast-iron gets hot, it starts a smokin'
and burning everything in sight! Keep that baby on low and wait a little longer.

And lastly, note to self...buy some fresh syrup!
Thanks for stopping by!  If you try these, let me know how they turned out for you!
{Printer Friendly Version}

Deluxe White Bread

Here's a simple recipe for some nice, inexpensive sandwich bread...


Ingredients:
10-12 oz Milk
1 1/2t Salt
2T Butter
4C Bread Flour*
1 1/2T Sugar
2 1/4t Active Dry Yeast

Put ingredients in bread maker in same order as listed. Select Large Light option (or similar selection on your brand of machine) and press Start.  In just over 3 hours, you'll have this lovely loaf.  Cool for about 5 minutes, then turn out onto a cooling rack.  Cool completely and store in a zip top bag.

Notes and What I've learned:
*I used A/P Flour because that's all I have and I cannot see paying way more for bread flour.

When first made, the inside is very soft and can be difficult to cut, even with a proper bread knife.  After a day, it gets easier.
{Printer Friendly Version}

Breadmaker Banana Bread

While getting out some parchment paper the other day, I saw this recipe on the package.  I thought....why not?  I'm on a baking marathon this week anyway, mostly because baking at home is one of the first ways I can think of to save money.  Sidebar: if you ever hear me say 'parch', that's parchment.  I know the rest of the world doesn't know my strange language so I thought I'd clear that up right now.  On to the recipe, which incidentally, does not call for the use of parch...

Ingredients:
2C Flour
1C Sugar
2t Baking Powder
1t Cinnamon
1/4t Nutmeg
1/4t Salt*
2 Medium or 3 Small Over-Ripe Bananas, cut into small pieces
2 Eggs
1/3C Veg Oil**
1/4C Milk
1t Vanilla Extract
1C Chopped Walnuts
Optional: 1/2C Mini Chocolate Chips***

Directions:
Dump all ingredients except Walnuts and Chips into the pan of your bread machine.
Select the Sweet Bread option on your machine and press Start.  (NOTE: I made this again today and I realized my instruction booklet says to use the Quick Bread Option for Banana Bread, not Sweet Bread.  I'm trying that to see how it comes out.  It does bake it for a lot longer with the quick bread option, so I'm a little
worried about wasting a whole pan of ingredients.  I may take it out a little early???  Will let you know hoe it turns out.
If your machine is like mine, it will mix for about 5 or 10 minutes, then beep several times, letting me know that it's okay to add the nuts and the chocolate chips.  Add them in at that time.
That's IT!  The machine does all the work for you!  When the alarm goes off and the bread is done, I let
it sit in the pan for about 20 minutes to cool down a bit before I slide it out so it's not so fragile.

If you don't have a bread machine, you can always bake the loaf in a pan at 350 for 50 to 60 minutes.

Notes and Things I learned:
*While this was a very nice-tasting Banana bread, it seemed a little flat to me.  I felt it needed a little more salt, perhaps another 1/4t.  A nice salty butter spread on top can help to curb that flatness, too.

**I used the oil as instructed, but I felt that it needed a more buttery taste to it.  Next time, I'm going to add butter instead of oil.

***I opted to leave the chocolate chips out, but I think it would actually be pretty good.

I have never had Banana Bread with cinnamon in it before!  It was really good!  As a matter of fact, I wish I had even put a little more in.

I like the bread that came out of my bread machine instead of a regular pan because you get four sides of golden brown crust instead of three!  That's my favorite part!

If you try the recipe, let me know how it comes out for you!  Have a great day!

{Printer Friendly Version}

Sunday, May 29, 2011

Bagels from Heaven!

I made these bagels yesterday and they were heavenly!!!  And so easy!  And cheap...15.5 CENTS each!  Let me tell you more about them...

Bread Machine Bagels:
1C Warm Water (110F)
1 1/2t Salt
2T White Sugar
3C Bread Flour (I used A/P)
2 1/4t Active Dry Yeast (as opposed to the lazy kind)

3 Quarts Boiling Water
3T White Sugar
1T Cornmeal
1 Egg White
1 - 1 1/2T Toppings of your choice

For everything bagels, use the following toppings:
Fresh Ground Pepper
1t Onion Flakes
1t Garlic Granuals
1t Sesame Seeds
1t Poppy Seeds

Mix your warm water, yeast and sugar in the pan of your bread maker.
Give it a stir with a rubber spatula.
Let sit for 5-10 minutes and it will puff up like this.
Add in flour and salt.  Select the dough option on your bread
machine and hit start.  Let go to completion, about 1 1/2 hours.
While your dough is working, you can put together your toppings.
Just mix them together in a small bowl.
Next, prepare your baking sheet by putting some parchment on it
and sprinkling with cornmeal.  I also added some of my toppings
so they would get on the bottom side of the bagel and make
it taste equally yummy.  (Are these called bottomings then?)
Now go file your nails and watch tv for a bit, then wash your hands!
When your dough is done, turn it out onto a floured surface.
Form your dough into a circle, flattening slightly.
With a pizza cutter, cut yourself 8 somewhat equal pieces.
Roll each piece between your palms to create a little ball.
Take your thumb and poke it through the center
of the ball until you poke through to the other side.
Transfer the dough ring from your thumb to your index finger.
Twirl it around like you might do with your car keys.
You're just trying to stretch the middle out a little bit.
Place them back on your floured surface.
I had to leave, so I put my dough in the fridge before
the 2nd rise.  I think that's why they look so bad this
time around.  The dough was a little dry by the time
I got back.  Should have used plastic wrap!
Cover with a clean towel and let rise for another 1/2 hour.
And they'll look kinda like this.  These sure puffed up a lot!
  They don't really have holes anymore!
About 20 minutes in to the rise, get your water a-goin'.
Place 2T sugar in the pot at any time.
When the water is boiling, drop your bagels in
gently using a slotted spoon so hot water doesn't splash you. 
I did three at a time.  Boil for 30 seconds on each side.
To flip, use the slotted spoon to push one side of 
the bagel downward.  It will flip automatically.
When 30 seconds is up on each side, transfer to a clean towel.
Leave them just long enough to get the excess water off.
Those little guys stick very quickly.
Transfer to your parch-lined baking sheet with the goodies on it.
Brush each bagel with egg white.
Sprinkle with the goodies of your choice.
Bake in a 375 oven for 20 to 25 minutes.
When they're done, transfer to a cooling rack.  I put mine
 over the baking sheet I just used so the little crumbs on the bottom
wouldn't get all over my counter tops.  They still did, a little.
Here's a close-up of that Sesame Bagel/Everything Bagel goodness! These were soooo good!  I had to stop myself from having a third one yesterday, ah-hem.  Yes, I know why I'm fat.  Thank you.


Notes and Things I learned from this experiment:
Don't get over-zealous with your egg wash!  I had this theory that if I put more on, it would make the seeds stick better.  They stick just fine with a little and if you use a ton, you get a nice little egg white omelette in the bottom of your bagel hole, lol!

My garlic or onion flakes turned pretty brown (I assume it's the garlic) and I thought, oh crud, this is gonna be bitter!  But it wasn't!  They were really tasty.

This dough only took up about 25% of the space of my breadmaker, so I know I could have easily doubled the recipe if needed. I might be able to even do 3 batches at once, but that could be pushing things.

I should mention that these make 8 smaller bagels, probably about 3-4" across, which is closer to an appropriate serving anyway.  According to my calculations, the whole batch of 8 only cost $1.24!!!!  That's only 15 1/2 cents EACH!  Can you imagine?!  If you go to Panera, you pay twice as much for ONE bagel as I paid for this whole batch!  Amazing!  

I was very happy with these overall!  Glossy, chewy outside, soft but dense inside.  So good!  Try them and let me know what you think!

{Printer Friendly Version}

Hot dog buns that would make better dinner rolls

I have been eating frugally when my husband is out of town for quite awhile now.  We'll have things like hot dogs and mac and cheese, spaghetti with meat sauce, hamburgers, sandwiches, etc... However, the other day, when I took the last hot dog bun out of the package that cost about $2, I thought....I bet I could MAKE these by myself!  So, I did.  And so began my obsession with bread baking this week!

My first attempt, while tasting good, ended up being twice the size they should have been.  I used a bread loaf recipe and just cut it into 8 pieces.  The next batch, pictured below, I cut into 12 pieces.  This was much better size-wise.  While pleased with the flavor, they were a little more dense than I would prefer.   I'm still in the test phase of hot dog buns!  I'll let you know when I come up with a better one.  Remember, this is one big experiment!  These were not bad by any means; I'm just looking for better.  On a positive note: my son chowed them down!


In your bread machine, dump the following ingredients in this order:
11 oz Whole Milk* (your liquid measure should have ounces on one side)
1 1/2t Salt
1 Egg
2T Olive Oil    (which creates a softer crust)
4 1/4C AP Flour**
1 1/2T Sugar
2 1/4t Active Dry Yeast

I selected the Dough setting on my (ancient and not-often-used) Bread Machine and let it do all the work.  After it was done, I just spread the dough out on a floured surface and formed into as close to a rectangle I could get.  I didn't roll it out or anything, just used my fingers.  I cut them somewhat like a bread stick you'd receive from a pizza place. I turned the edges under to make them appear more rounded on the ends, then placed them on a parchment-lined pan, about 1/2" apart.  I popped them in the oven at 375 for approximately 15 minutes.  Note: my oven may run hotter/cooler than yours, so please watch them the first go-around.

These store and thaw beautifully!  What I did was to let them cool completely, then slid them into a gallon zip top bag and put them in my freezer.  When I use the last ones from the fridge or counter top, I just take out two or three more from the freezer, slip them into a smaller zip top bag and place them in the fridge for the next time I'll need them.  If you look closely at the below pic, even though I cooled the buns completely, there are still little tiny water droplets clinging to the bag. I think if you were to take them directly from the freezer to the counter, you could end up with a soggy or perhaps gooey bun.  Just a thought.  Could be wrong.  I often am.  Don't tell anyone.   ;)


Had I been thinking about a blog at the time, I would have taken pix of the process like those more exciting blogs do, but it never crossed my mind.  I'll try to remember that for next time.  As you can see, I'm no food stylist, but this hot dog was darn good!  I didn't say healthy, I said GOOD!  :)  BTW, try to ignore my fine china below! 


Notes and Things I learned from this experiment:
*We buy our milk at Aldi's, which is $1.99/gallon EVERY day!
**The recipe called for Bread Flour, but all purpose was what I had on hand, so I used it.  I think it worked out fine.  I used store brand flour, which was only $1.76 for the whole five pounds!

This whole batch of 12 buns cost $1.40!  That's less than .12c each!  So, about .96c for a typical package of 8,which is less than half of the store price.  Not bad, but I think I can do better.

{Printer Friendly Version}

Tips from readers...

What do you do to save money?  Got a helpful hint?  Leave a comment to post it here!  I regret that I may not be able to respond to each tip, but it's always helpful for others to view at a glance.  Thanks for your help!

We're broke! It's time to do something about it!

Welcome to my new blog!  It's a work in progress, so please be patient as I get things looking the way I'd like. I'm launching this blog because we have hit a desperate point in our finances.  We have to do something to cut our costs.

While I wouldn't consider myself to be a 'spendy' person in the first place,  I do have a husband that travels a lot for work.   You can only imagine the amount we spend each month on that.  Between airline tickets (at least 3 round-trip tickets a month), the occasional rental car, hotel fees, dining out while traveling, it's outlandish.   The numbers have grown into a big ball of debt that is weighing us down and threatening to keep us there.  Desperately trying to keep my job as a stay-at-home-mom (my first priority), I am determined to make things work by being more frugal.  My husband has finally decided to jump on board with me, so this should help make things easier.  Not sure what changed his mind (after years of nagging, er, gentle coaxing), but I'm so happy he did.  Thanks, hon!

This blog will list my adventures while attempting to be frugal and save my family money by making a lot of homemade items in place of things we usually buy.  I will also tell you things we are doing to save on money by cutting costs in other areas. I plan on posting several homemade recipes that are new to me.  I will give you my assessment of how the 'experiments' came out and what I would do differently the next time.

So, why the name So NOT Betty?  Because I am sooooo NOT Betty (Crocker)!!   But I'm gonna do the best I can without the store-bought cake mix!  Who needs that when you can make your own for pennies! Pishhhhh!  More to come soon...and WELCOME!