Sunday, May 27, 2012

Homemade Dog Biscuits

In my quest to use up my soon-to-expire eggs the last few days, I was finally forced to make the dog biscuits I had been putting off planning on for weeks! This recipe is very versatile as you can use almost any food you need to use up.  Just be sure they're okay for your doggies to eat before you do.  Here's a link to a site that lists foods to avoid.  Here's how I made mine:


1C Bacon Grease
3 Eggs (only two shown...decided to add one more)
1/2C Milk (I wasn't sure this was necessary at all)
1 1/2C Chicken Broth, homemade
1/4C Peanut butter (Just used it because it was expiring)
1t Salt
1T Honey
7C Flour
2C Rolled Oats (decided on this after the fact...not pictured)


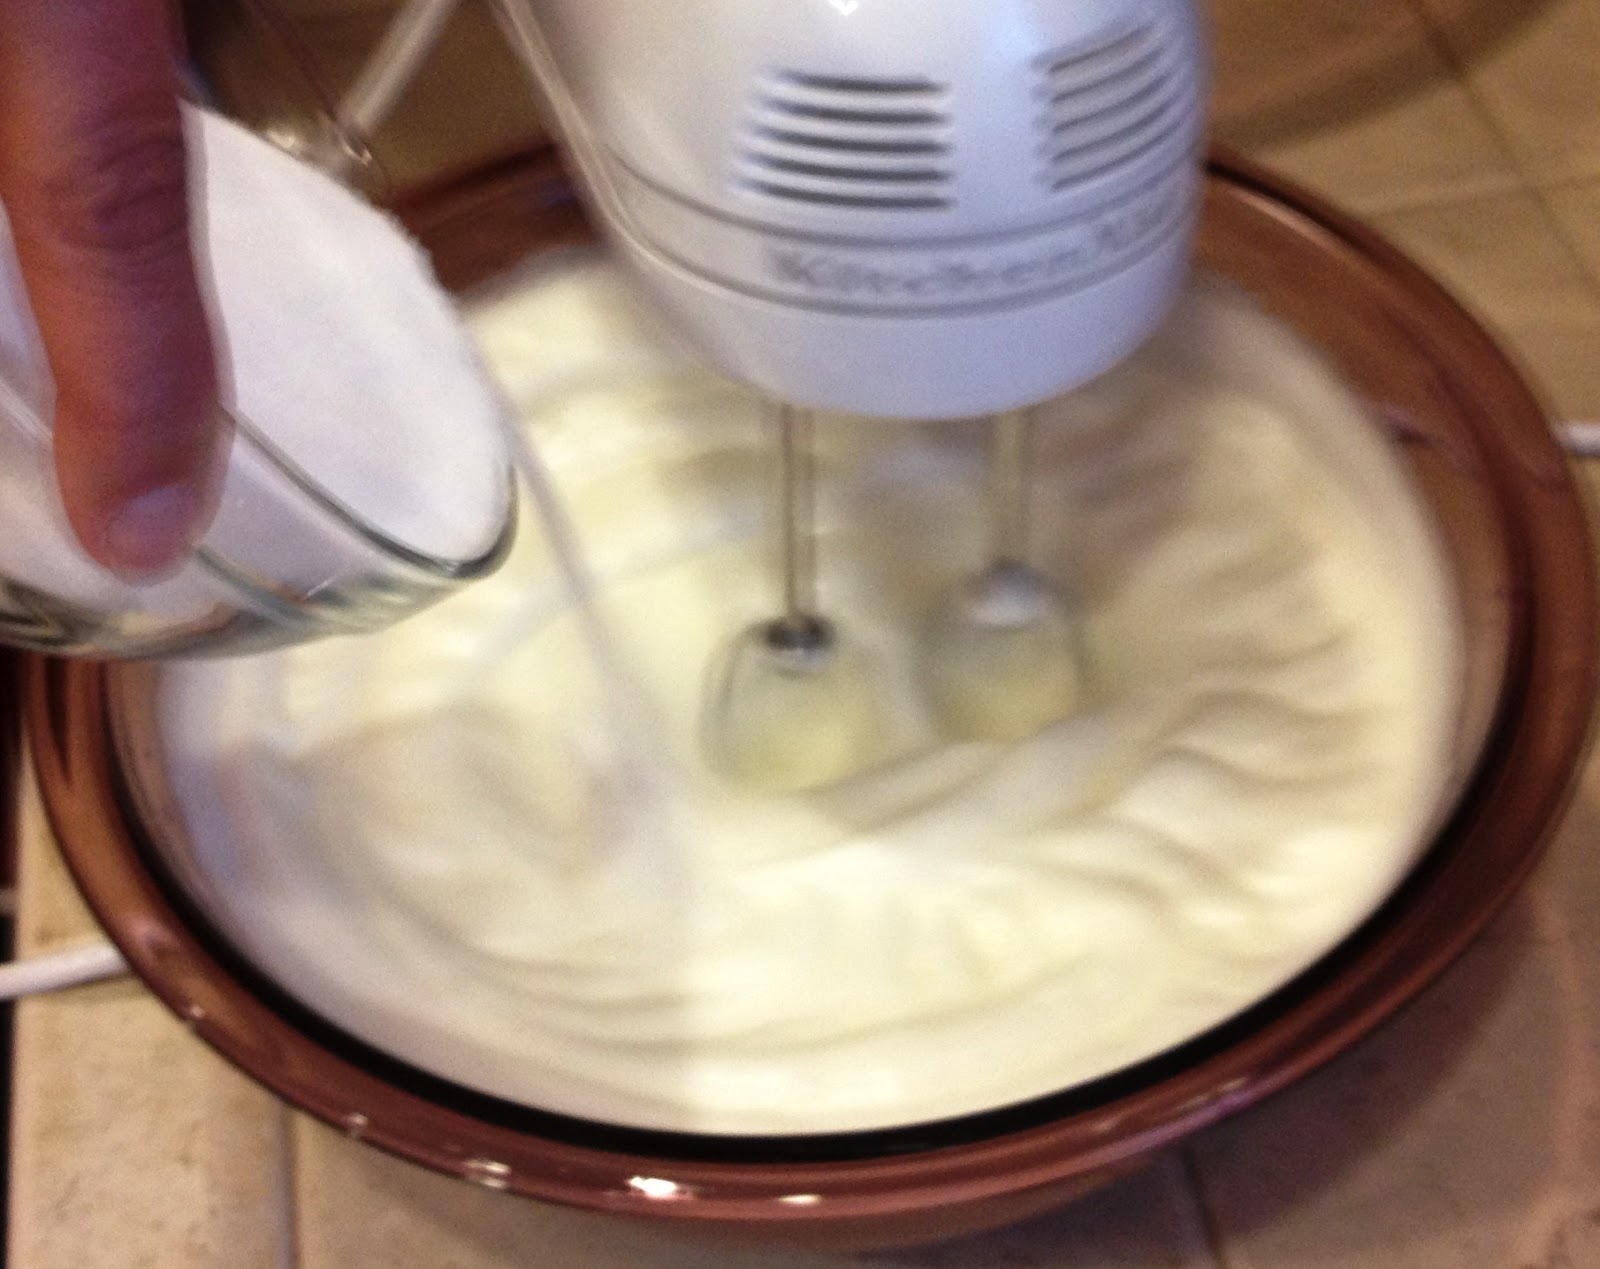
Start by dumping your bacon grease in a very large bowl and mixing it to soften it.  You might notice that mine is all lumpy, has bits of food in it, and is obviously unfiltered.  This is NOT the bacon grease I filter and save for my family to use in cooking.  I collected this over a couple of weeks by saving grease/cracklings from the bottoms of the pans I used for breakfast and dinner meats.  I kept it in the fridge until I had enough.
Add in your eggs, mix well.
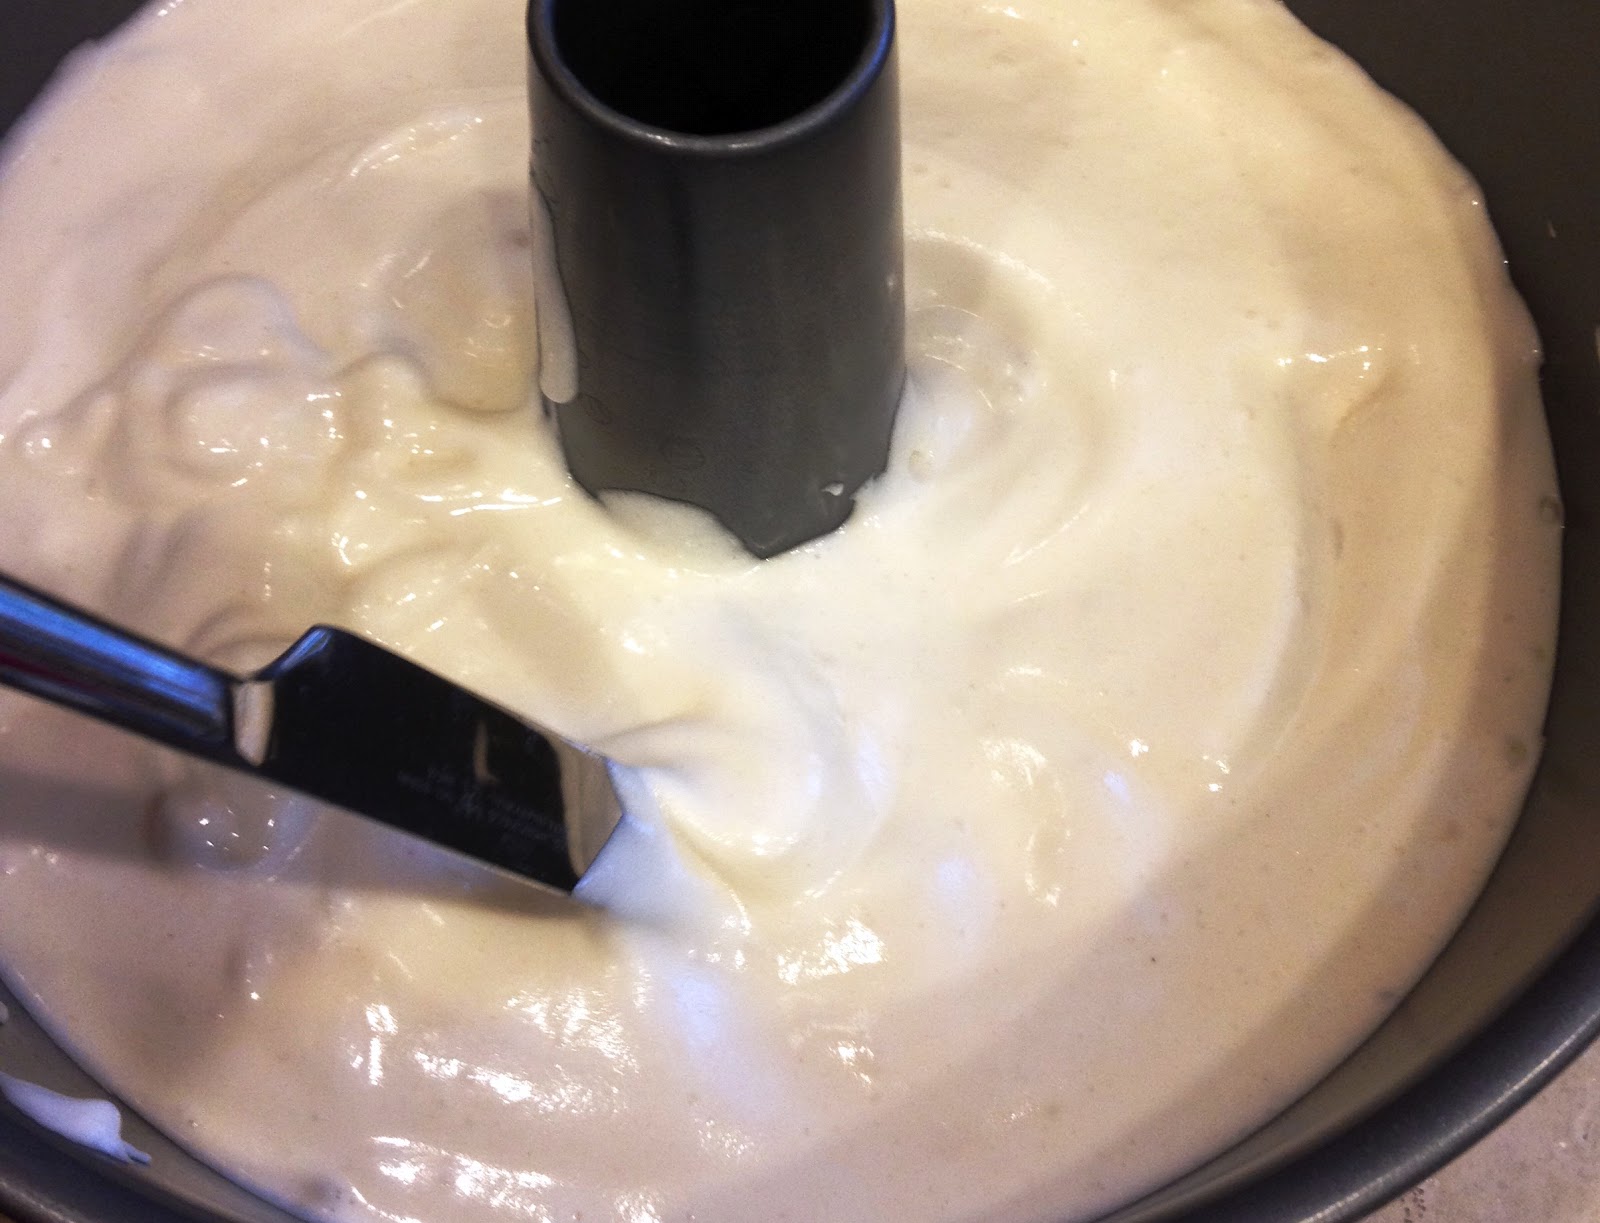
Add milk, broth, peanut butter, salt and honey.  (or whatever food stuffs you are using)  Mix well.      Mixture will be very runny.
 Because I don't know what kind of food you will be adding, we will start off 2C of white flour and 2C of oats.  If it's too thick to blend with your hand mixer, use a stiff wooden spoon.  Mine was still easy at this point.
I kept adding flour until it became too difficult to use my mixer.  Didn't want to break it.
I finally added enough flour to make a bread-like dough.  I didn't feel like dunking my hands into the mixture for some reason, so I used gloves to mix it.  I just needed to incorporate the last of the flour that brought it to the right consistency.  It's kind of like a greasy bread dough.
I started rolling the dough into little balls, a little less than one inch across.  You could also roll the dough out and cut out with cookie cutters, but that just didn't appeal to me today for some reason.  More work than I wanted to do.
It occurred to me that these might not spread, so I smashed half of them flat.  As a side note, a few minutes into baking, I realized the others were not going to spread like a cookie, so I smashed them flat, too.  Since we have a puppy, I needed something he could eat, too.  If it was just for my older dog, I may have left them round.
It looks like Happers likes the dough!  He got the honor of licking the bowl.  He really seems to be getting in to it!
Bake at 350 for 35 to 40 minutes or until golden brown.  They smelled soooo good while they were baking, I was thinking that I would eat them myself!  The more I thought about it, there was nothing in there I wouldn't really eat, so I took a little nip off of the edge of one, lol!  It was soooo good, but needed more salt for my liking, but I'm assuming that's not very good for doggies.  It tasted like a chicken pot pie crust!  Good thing I'm on a diet or I would have eaten several, lol!   Let cool completely before storing.  They should be firm, somewhere between a pie crust and a cracker.
This made 157 biscuits.  I'm estimating these at about $1.50 for the whole lot, so about a penny a piece.  That's cheaper than the ones I get at Aldi and about 75% cheaper than the big name brand.  A lot of the ingredients were going to be thrown away if not used right away. So, I like that they didn't go to waste.  It's not a project I'd want to do weekly, but it was a nice experiment.  The dogs love them, too.  I'm trying to make them last by giving them each a half when they come in from outside.
You can store these in your doggie treat jar or in a baggie.  I just stuck the extras in a baggie in the fridge.  It actually smells good when you lift the jar to get a treat!  Never thought I'd utter the words, "Man, these dog biscuits are making me hungry!!"  LOL!  This actually gives me an idea to make my own 'chicken in a biscuit crackers' when I'm not on a diet...whenever that is!!!

Simple Chocolate Buttercream Frosting

Here's a frosting you can whip up in a matter of minutes.  It's fast, it's simple and it uses ingredients most people have on hand every day.  You'll need:
2 3/4C Powdered Sugar
6T Unsweetened Cocoa
6T Butter, room temp
5T Milk, Half and Half or Heavy Cream (I used milk)
1t Vanilla Extract
Pinch of Salt (I forgot this altogether!)

I'm certain there's a better way to go about this, but this is what I did this time.  I think I normally just dump everything in at once, so I gotta get some credit for even breaking it down into steps, lol!

Put your butter and powdered sugar into a mixing bowl.  Mix together on low.  This would probably be an okay place to put the salt, too.
Add in milk and vanilla.  Mix.
Add in cocoa.  Mix.
Frost your cake immediately.  If you cannot frost right away, cover with a wet (but wrung out) paper towel, then a kitchen towel on top of that.  I just set mine on the counter until needed.  I used the frosting on a Gold Cake.
Ignoring the fact that my child decided to sprinkle the entire finished cake with red sprinkles...doesn't that look yummy?!  If I had to compare it to a boxed cake, it would be a classic yellow or butter cake, but without that nasty chemical taste that tends to accompany the boxed version!   
Notes:  The reason I added buttercream to the name of this frosting is because it tends to be just like a buttercream which is very sweet, but with a mild chocolate flavor.  If you're looking for a ganache or fudgy icing, this is not the correct recipe to choose.  While very tasty, it is very sweet, too.  This whole batch costs about a buck and covers a standard 9 x 13 or 2 layer cake sufficiently.

Gold Cake...or how to use up a dozen (or more) egg yolks

You may have read my post yesterday about needing to get rid of quite a few expiring eggs.  I ended up making a not-so-fluffy-but-great-tasting Angel food cake, but I then had a problem of too many egg yolks on my hands!  After a quick google search, I came upon a recipe for something called a Gold Cake.  Sounded good to me!  Here's what you need to make it...
1C Egg Yolks from 12 to 14 Eggs
1 1/2C White Sugar
1 3/4C Flour
3/4C Milk
3/4C Butter, softened
1t Vanilla Extract
2t Baking Powder
1/2t Salt

Preheat your oven to 350.  Grease and flour two 8-inch round pans for a traditional layered cake.  I decided to make it simple and use a bundt pan.  Why is it that I wait until it's 90 degrees outside to bake a cake?!
Whisk together the flour, baking powder and salt in a small bowl.  I just used a fork.  I'm lazy and didn't want to dirty up another utensil.
Cream butter and sugar together in a separate mixing bowl.
Add egg yolks and vanilla
and beat until fluffy.
Add in your flour in 3 separate doses.  You are going to alternate it with the milk, ending with flour...
                                                         flour, milk, flour, milk, flour.
You will add in your milk in two separate doses, alternating between doses of flour. I'm sure if you just dumped all of your flour and milk in at once, it wouldn't be the end of the world.  Or maybe it would be...bum, bum, bummmmmmm!!!
Pour into your prepared pan(s).
Bake at 350 for 25-30 minutes or until a toothpick comes out clean.  Since I used a bundt pan, it took a little longer.  OMGoodness, it smells sooooo good!  Look how purty that is!
Invert onto a plate to cool.  Frost with your frosting of choice, use a drizzle, or eat it plain!  I chose to frost it with some Simple Chocolate Buttercream Frosting .
Recipe credit: AllRecipes.com

Saturday, May 26, 2012

The flatty patty angel food cake!

The other day, I realized I had two dozen eggs that were expiring in two days. Argh! Not about to waste them, I set out to find a way to use them up without having to bother freezing them.  I've never done that, but it seems kinda creepy to me for some reason.  So, I made my boys lots of eggs for breakfast for the next two days, but I still had a ton left.  So, I decided to make an angel food cake.  Here's what you'll need...
1 dozen Egg whites, room temp
1 1/2C + 2T Sugar
1C Cake Flour (I only had all purpose)
1 1/2t Cream of Tartar
1 1/2t Vanilla Extract
1/2t Almond Extract
1/4t Salt

Sift Flour, 3/4C + 2T Sugar and Cream of Tartar together, set aside.
Separate your yolks from your whites.  Do this one at a time in a ramekin that is separate from the bowl you'll be using to mix them in.  Have another bowl ready in which to deposit your yolks, too.  Trust me when I say...dump the white into the large bowl as soon as it's separated and free of yolk.  Don't do like I did and add three or four to the ramekin, get some yolk in it, but decide you can't possibly waste those 4 eggs, so pick out what you can and use them anyway and end up with a flat cake!  The fat in the yolks is the nemesis of an angel food cake! You know, there's a saying....if you can't be a good example, maybe you can be a dire warning.  Today, I'm the latter.  While it didn't affect the taste of the cake, it did affect the texture, which I actually kinda liked.  It was dense and kinda chewy, which was cool. I'm not a fan of spongy-ness.  Being on a diet, I only had one bite, but it was a good one!
Beat your egg whites until they form peaks.
Yours will hopefully be a little fluffier than mine.
Add in the rest of the sugar (3/4C), mix well.
Add in your extracts, mix well.
Slowly add in your flour mixture, a little at a time, mix well.
Pour into an UNgreased angel food cake pan.
Run a knife through the batter to break any air bubbles
Bake at 375 for 30-35 minutes.  Mine took closer to 40, but that could be because it was so dense.  It came out a beautiful golden brown and smelled divine!!!
The boys thought it tasted great! My hubby ate his as strawberry "short"cake...pun intended for my-not-so-close-to-heaven little confection.  Tommy just ate his plain. 

 Here's how flat the poor little cake was, about 1/3 as high as it should have been!  You'll probably need to run a knife around the edges to loosen the cake.  Let it cool completely.  You can make a drizzle for the top, use it in a trifle, or use it as a base for strawberry shortcake.  Remember, beauty is on the inside!  
Now....what to do with those darn yolks?  How about a Gold Cake?

Monday, May 21, 2012

Simple and Cheap Pet Stain Remover

Just look at this face!  I mean, look at it!  Is this not the most adorable, squishable, loveable face you've ever seen?
Oh, my gosh, Happy is the cutest, sweetest little thing ever!  Which is a good thing since he left a lot of the stains below around the house his first week home.  Ahhhhh, the poo poo stain of a puppy with squishy little doodies!  We've mostly had pee pee accidents, but I thought I'd show you how to clean up the poo so you can see how well this stuff works.
This idea came about a while back when I was cleaning windows in the front room.  I was cleaning 'snoot marks' from Sissy off of the windows when I found an old pee pee spot beside the couch.  I swear, that dog is as dumb as a post, but we love her.  I knew we didn't have anything in our cleaning arsenal to properly remove the stain.  So I thought...ehhhhh, what the heck...I'll try my homemade Schwindex on it.  I lucked out because I didn't put any dye in it that time and it was basically clear liquid.  I spritzed it on the stain and blotted it well.  It worked!  That got me to thinking about my Schwindex recipe.  It has 1/4t of dish soap in it, which is not good to use on carpet because the soap will actually attract stains.  So, I tried an experiment and it worked, too.  Here's what you'll need:
2T Ammonia (about 1T per cup of water used)
HOT water (enough to fill your container of choice)
An old bottle
Cleaning rags
Funnel (not pictured)


Start by dumping your ammonia into your hot water.  It's helpful if you use a measuring cup so you can pour it easily into your container.  I actually heated my water in the microwave beforehand.
Use a funnel and pour it into your container.  Careful, the water is hot.
I'm using a recycled shampoo bottle.  I've decided to use my hoarded plastic bottles for either non-food items or for powdered or dry ingredients from now on.  Trying to lessen my family's exposure to BPA where ever possible. Anyway my cap has a small hole that actually worked pretty well.  I was worried about not having a sprayer, but I think I actually prefer this.  Saves a lot of hand cramping!  Yes, I AM old, thanks for asking.
Squirt a liberal amount of the solution on the offending stain.  No need to let it sit.  As a matter of fact, don't let it sit or your stain will spread.
Lay your rag on top of it and put your weight on it.  Please ignore my 10 year old, quite possibly dorky-looking sandals.  They're comfy.
And through the magic of the internet, lift your rag to reveal NO more stain!  It took a couple of treatments for the poo stain but pee stains come right up with this!  
Now my cute little honey boy can go back to being adorable on a clean floor! 
Man, that's one UGLY stuffed animal!

Notes:  
This does not make your house smell like ammonia at all.  Or pet urine.  It works really well.

Ya know, homeopathy says to treat "like with like" and this is pretty much what we did here.  Pee naturally contains (or turns into???) ammonia, and we're using ammonia.  Maybe not quite the exact rules of homeopathy, but I like to think I'm on the right path.  Now, as a disclaimer, please please please test this on a small, hidden patch of your carpet before doing it in an obvious place.  Now, on to clean up the other 17 stains!  ;)